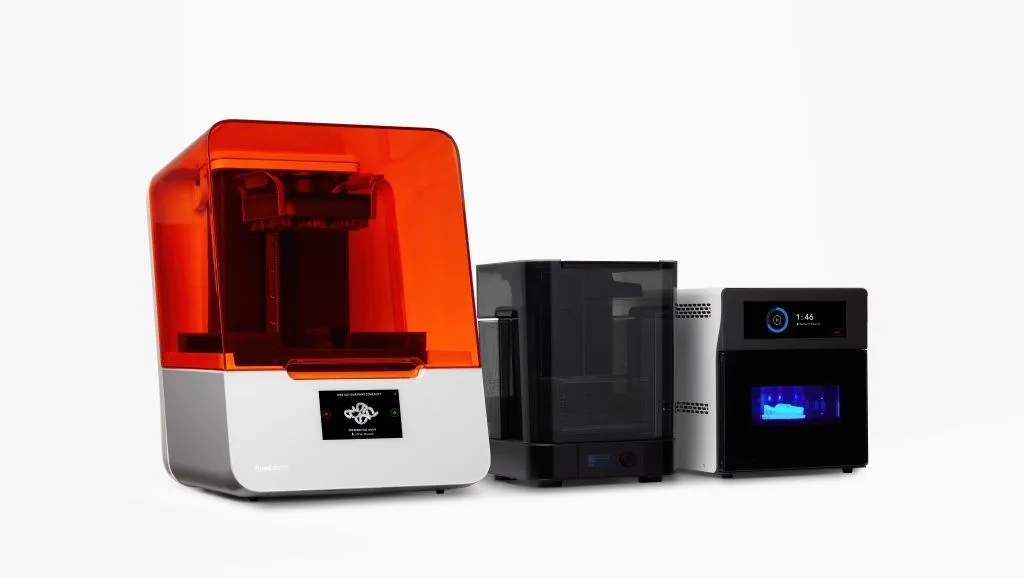
How to create a 3D dental model for Formlabs printing
A specialist guide for dental clinics on how to create a 3D dental model from an intraoral scanner.
This specialist guide explains how to create a dental model for 3D printing from a 3D intraoral scanner.
What is a dental model?
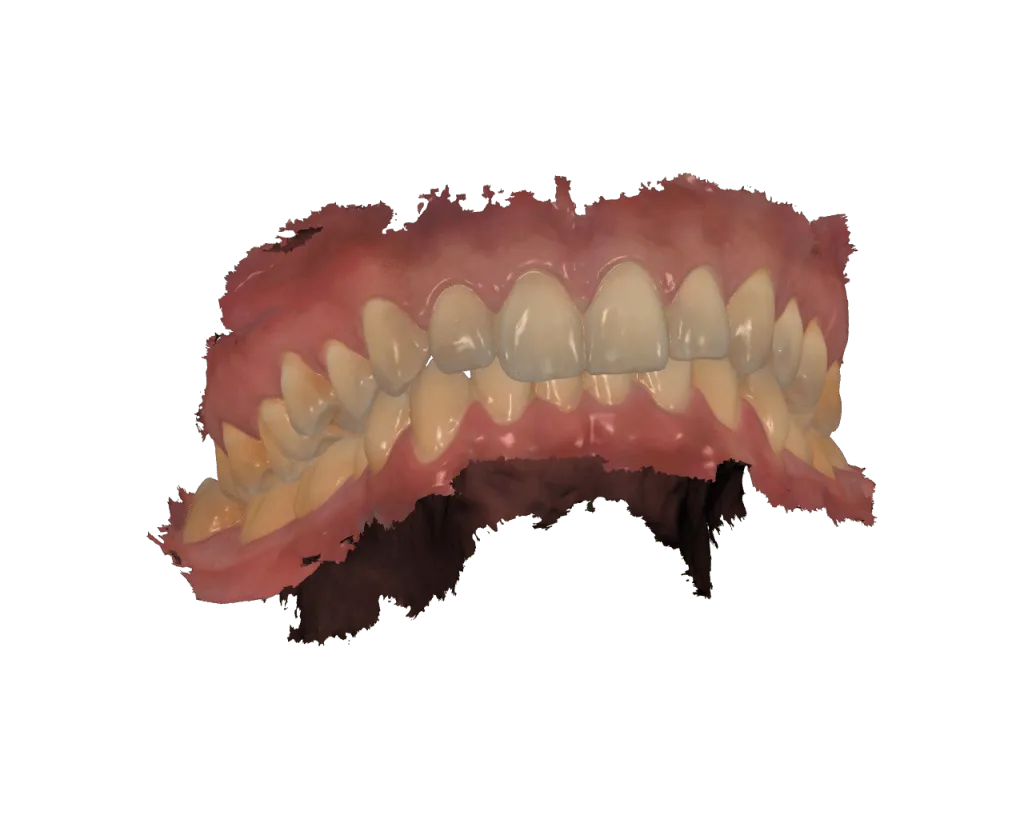
A dental model, or study model, is a replica of the patient’s teeth and adjacent tissues. With an intraoral scanner, this process can be created entirely digitally. That makes the dentist’s work easier while also improving patient comfort.

In most cases, diagnostic models have several functions. For example, they allow clinicians to examine the relationships between oral tissues and determine how those relationships may affect the shape and function of the appliance or dental treatment.
This helps the dentist ensure the optimal performance of the prosthesis or orthodontic treatment initially planned.
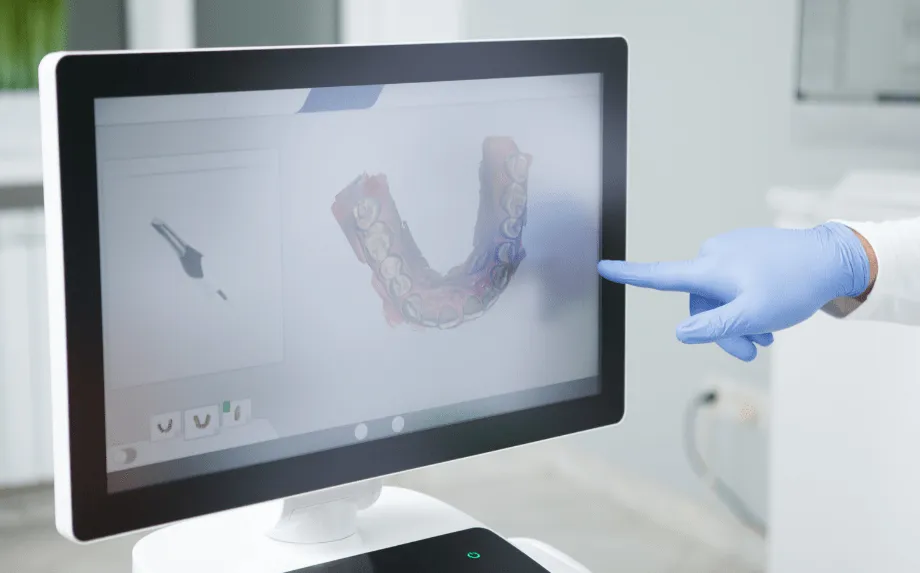
From digital scans to a dental model for 3D printing in just a few clicks
An intraoral scanner gives dental clinics a competitive advantage: it optimizes the time spent on diagnosis and dental appliance production, while also supporting a more precise workflow for creating dental models.
This technology is changing dental practice because it makes it possible to produce dental models and digital impressions in record time, with maximum safety and quality, while improving the patient experience.
In addition, dental software applications such as Meshmixer strengthen these benefits because they allow teams to design the required patient model in real time.
With a 3D dental scanner, clinics can easily perform an intraoral scan, design printable models with specific characteristics, and use simple software that converts patient data into printable 3D digital files in a single click.
-You may also be interested in: How to make an intraoral scanner profitable: you can do far more than you think-
3D dental scanner: advantages for your clinic
By using a 3D dental scanner, clinics gain major advantages:
- They can manufacture diagnostic models that help visualize patient anatomy and plan each case correctly.
- They can be used for different types of printable models so the patient can take an active role in the process, understanding, and oral education.
- They make it possible to create digital files for manufacturing dental prostheses and clear aligner appliances efficiently and to a high standard.
- They facilitate the fit of dental appliances through verification models, avoiding patient discomfort or unnecessary cost from remakes.
- They increase the accuracy of dental models thanks to latest-generation technology capable of providing details of up to 25 microns.
They make diagnosis and dental appliance manufacturing workflows more efficient: a piece can be ready on the same day the 3D scan is performed.
3D dental scanner vs physical impressions for a dental model: which is better?
Physical impressions have become obsolete when compared with the overall process optimization promoted by digital impressions from a 3D dental scanner for creating a dental model.
Based on the benefits described above, we can conclude that digital impressions are a much better option because they deliver dental appliances in record time, with excellent manufacturing accuracy, and significantly improve the patient experience.
With physical impressions, traditional diagnostic procedures can be uncomfortable for the patient and require more time to manufacture the dental device. This leads to longer waiting times.
Digital workflow for creating a dental model
A 3D dental scanner simplifies the dental workflow through digitization and the technology used in the software available for designing and then printing dental models.
How does the digital workflow work when a clinic has a dental 3D printer? Through these steps:
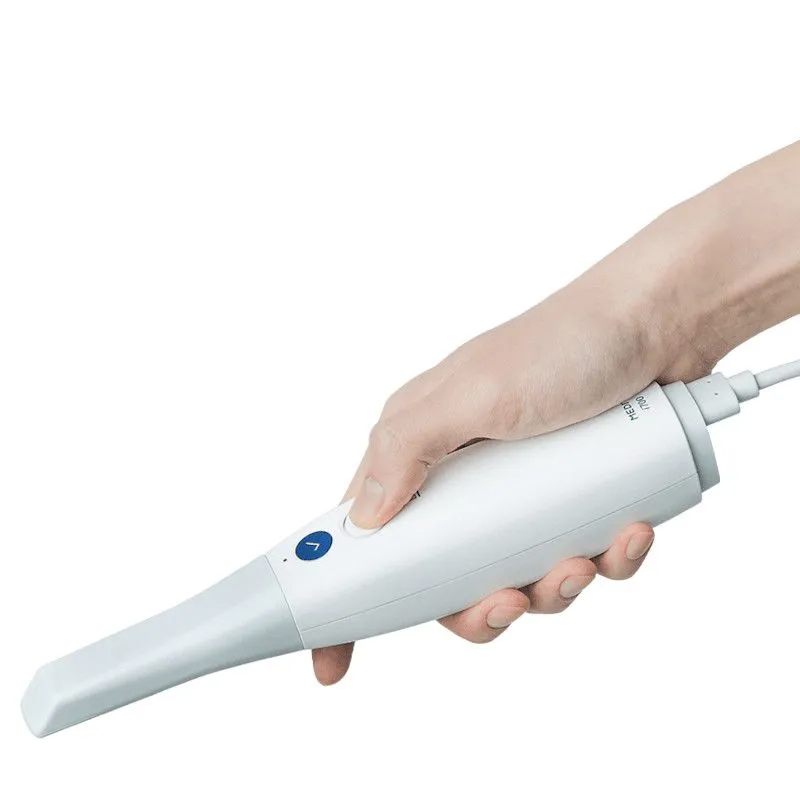
- Scanning: personalized data and information from the patient’s anatomy are collected digitally using the intraoral scanner. Upper and lower scans are saved as separate STL files. A third scan can also be performed to capture the patient’s occlusal reference.
- Import: the files are imported into the software, where they can be viewed together or separately in 3D for presentation to the patient.
- Treatment design: unwanted data are removed, or the model is shortened if necessary, to create a clean piece with detail in the areas that matter for treatment.
- Print setup: the file is configured for the 3D printer. In practice, the team must select the material type, part orientation, and layer thickness. 3D printers create parts by adding material layer by layer, so it is essential to understand how the printer works; these parameters often need to be specified in dental design software to obtain a printable file optimized for that machine.
- Printing: the printing work is performed horizontally, with some inclination, or vertically, depending on the number of models to be manufactured and the type of application.
-Recommended reading: Dental 3D printing materials: why work with 3D printing in digital dentistry?-
Step-by-step guide to creating a dental model with Meshmixer
When producing a dental model, clinics can use printing software that makes it possible to design dental devices correctly. Meshmixer is free, open-source software from Autodesk, very easy to use and a leading tool for preparing CAD files such as .STL and .OBJ files.
Below is the step-by-step process for creating dental models with this well-known software:
1. Preparing the tools
The first step is to install Autodesk Meshmixer on the computer that will be used for dental design.
Once the intraoral scan has been completed, the 3D model to be edited is imported. To do this, open Meshmixer and click Import in the center of the window.
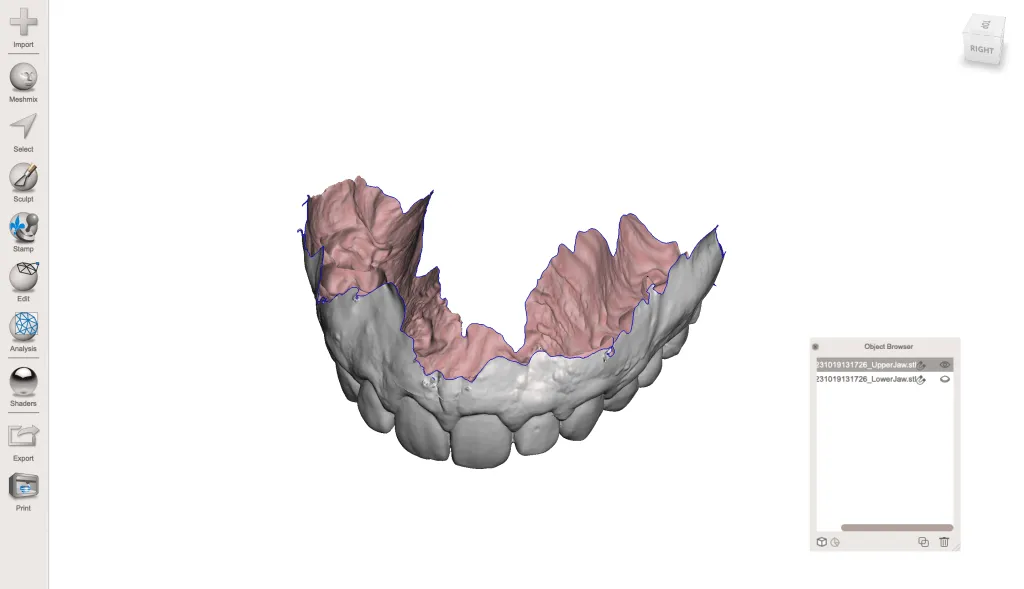
2. Cleaning the 3D model
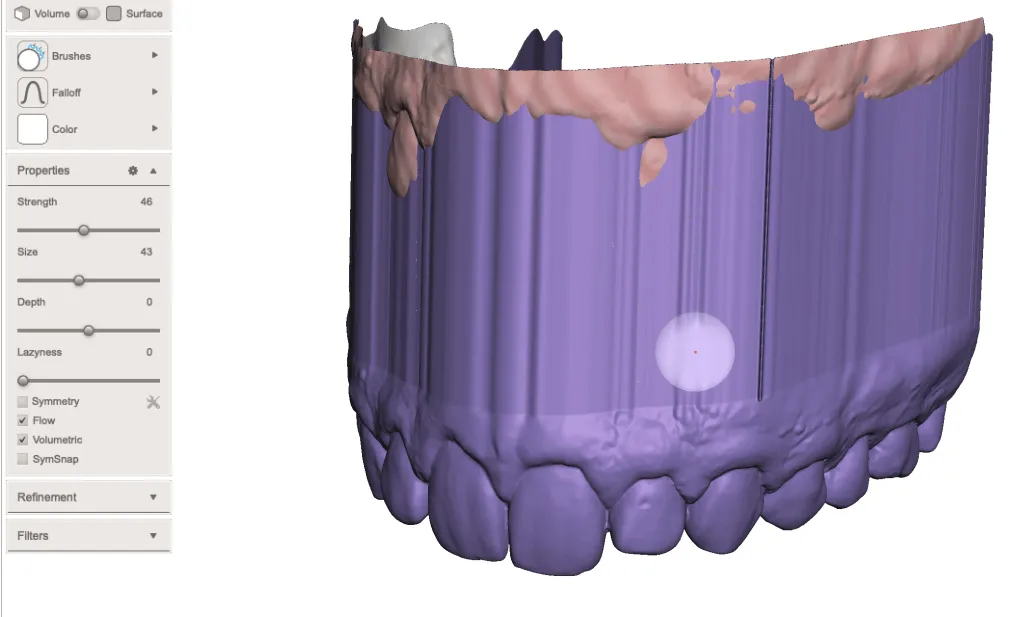
The second step is to clean the 3D model, removing visual data that are not relevant and preparing the digital piece properly.
3. Closing the mesh
When the model is imported, it may be clear that it has no palate and has an open mesh that needs to be closed. A typical model should follow these steps to achieve that.
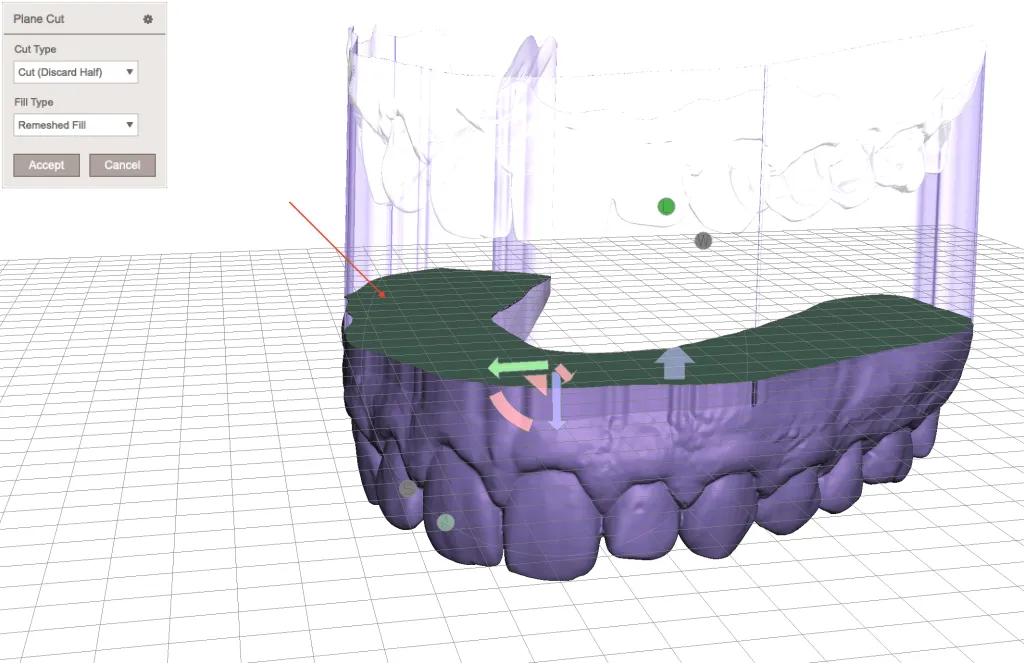
4. Hollowing the model (optional)
For hollowing, use the Hollow Tool, which creates internal cavities inside closed solids.
When clicking Edit>Hollow, an internal cavity is automatically generated in the model and shown in grey. Different cavity parameter variations can be adjusted from the left panel.
The key parameter is wall thickness: Offset Distance, which is set to 2 mm by default. Depending on the application, this thickness should be increased.
Finally, click Accept to confirm the hollowing, use Plane Cut to cut the model base to the desired height, and finish the model.
-Discover: Meshmixer dental tutorial: 3D model printing-
How to create a 3D dental model for Formlabs printing
Discover: From scan to model: convert intraoral scans into dental models for dental 3D printing
So, how can a clinic evaluate 3D printing tools for dentistry and make the best purchasing decision? The most important step is to review accuracy studies using real scanned-image data from printed parts. A good practice is to request a customized sample piece from a design to check the fit and compare it with the original.
Remember that the accuracy and reliability of this type of technology depend on many factors that must be evaluated: printer quality, the 3D printing process, materials, software configuration, post-finishing, and the calibration level of all these systems.
Another important point is the ease of use of the 3D printer, since the whole team will need to become familiar with its daily use and maintenance.
Finally, cost is also a key factor in the purchasing decision. Today, thanks to widespread adoption and global use, 3D printers have significantly reduced in cost, making them much more cost-effective than outsourcing part production.
The advantages they offer can even generate enough savings to amortize the total cost in just a few weeks and recover the purchase price several times over throughout the years.
Start bringing profitable digital technology into your dental clinic now with a 3D dental scanner and 3D-printed appliances.