Meshmixer Dental tutorial for 3D model printing
A complete Meshmixer Dental tutorial for clinics and labs: learn how to repair STL files for dental 3D printing.

In Meshmixer there are several tools that help repair STL files and prepare them for dental 3D printing.
Meshmixer includes automatic processes that are enough for most 3D models and useful for fixing small errors, such as holes in the mesh. Models with more critical errors, however, may require a dedicated correction.
In this tutorial, we share practical tips for editing STL files for dental 3D printing.
Advanced Meshmixer tutorial
The goal is to show how to repair STL files for dental 3D printing and explain how to use advanced tools to prepare a dental 3D model correctly. We solve different errors that appear in day-to-day digital protocols between a dental clinic and a dental prosthesis lab.
Why repair an STL file in Meshmixer Dental software?
A 3D design is a mathematically “perfect” geometry, defined by curves and splines. In 3D printing, surfaces are converted into a 3D mesh format that describes the geometry as a set of triangular faces and connected vertices.
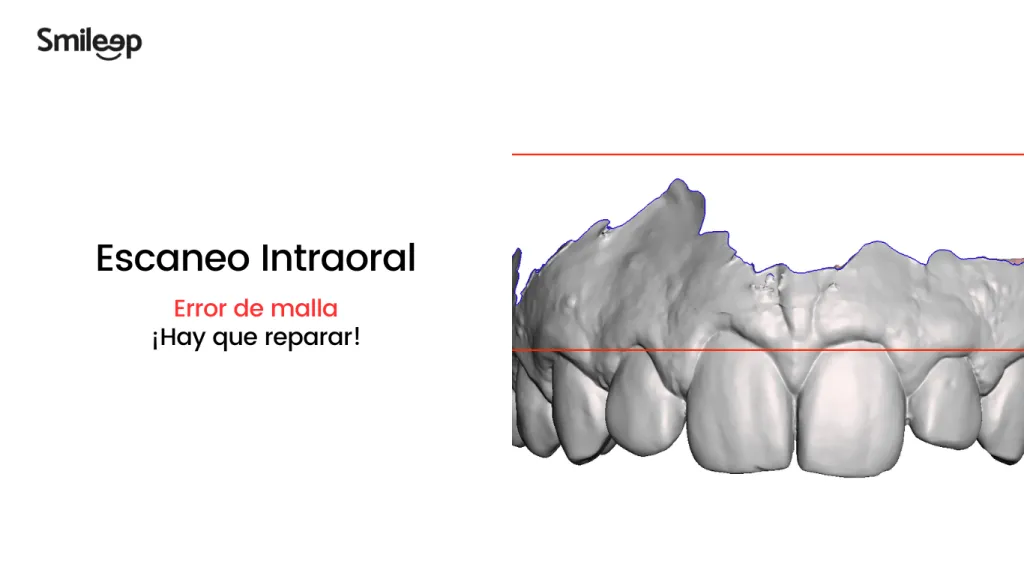
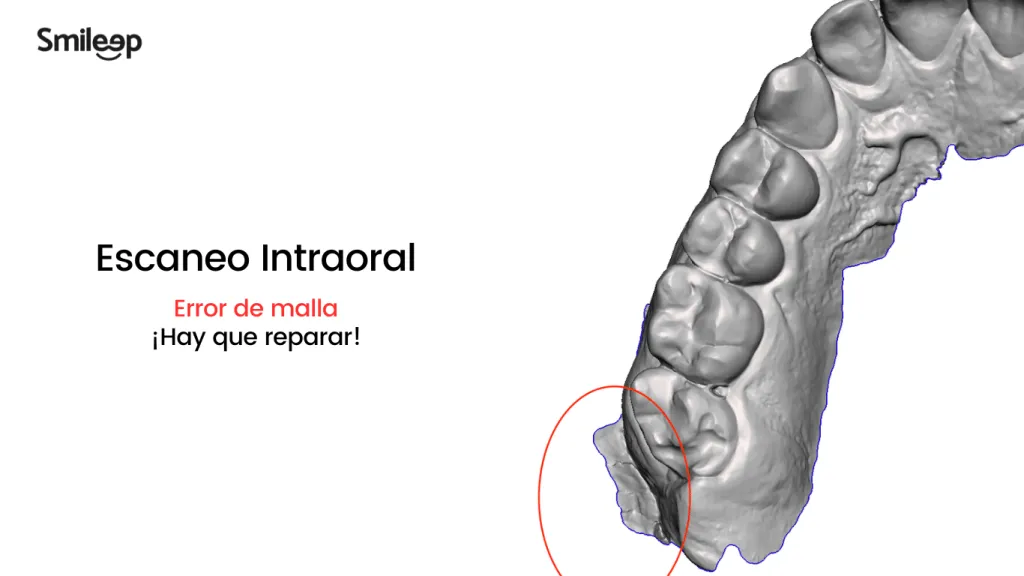
Mesh conversion is similar to breaking a completely smooth mirror and putting it back together by gluing the pieces so it resembles the original. When the process is done poorly, the result is a 3D model with edges, holes, floating parts and areas with too many intersecting triangles that should not be there. When it is done well, 3D printing starts from a mesh that faithfully matches the original design.
How do you repair an STL file in Meshmixer?
A repair workflow can be handled in different ways. In this case, we explain a simple approach using a tool that will also help solve other errors.
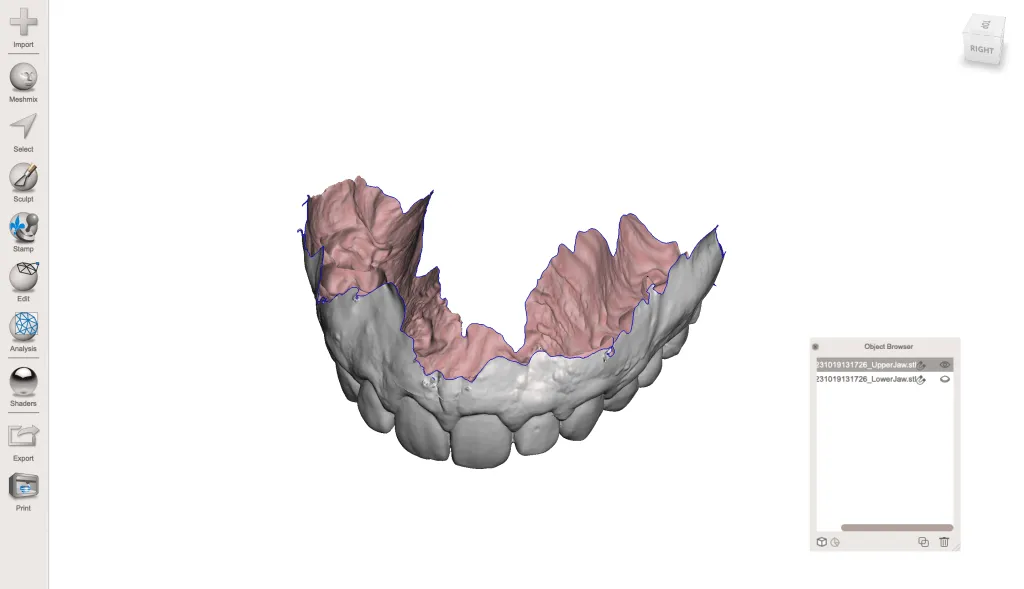
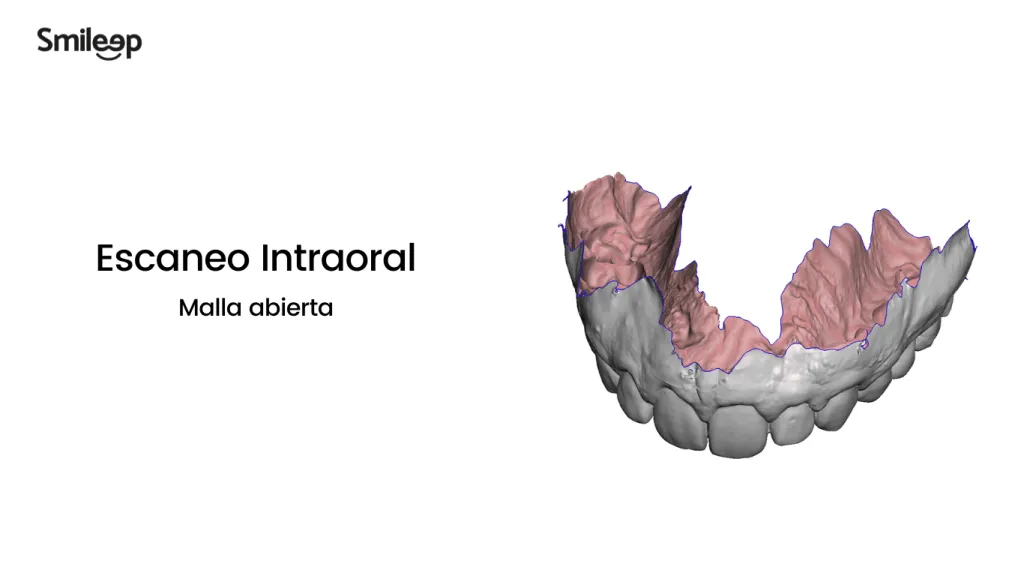
Error 1 - Meshmixer Dental: open mesh in a dental 3D model
After using the Plane Cut tool to trim the model, it is common to find the 3D mesh open, resulting in a model that is not suitable for 3D printing.
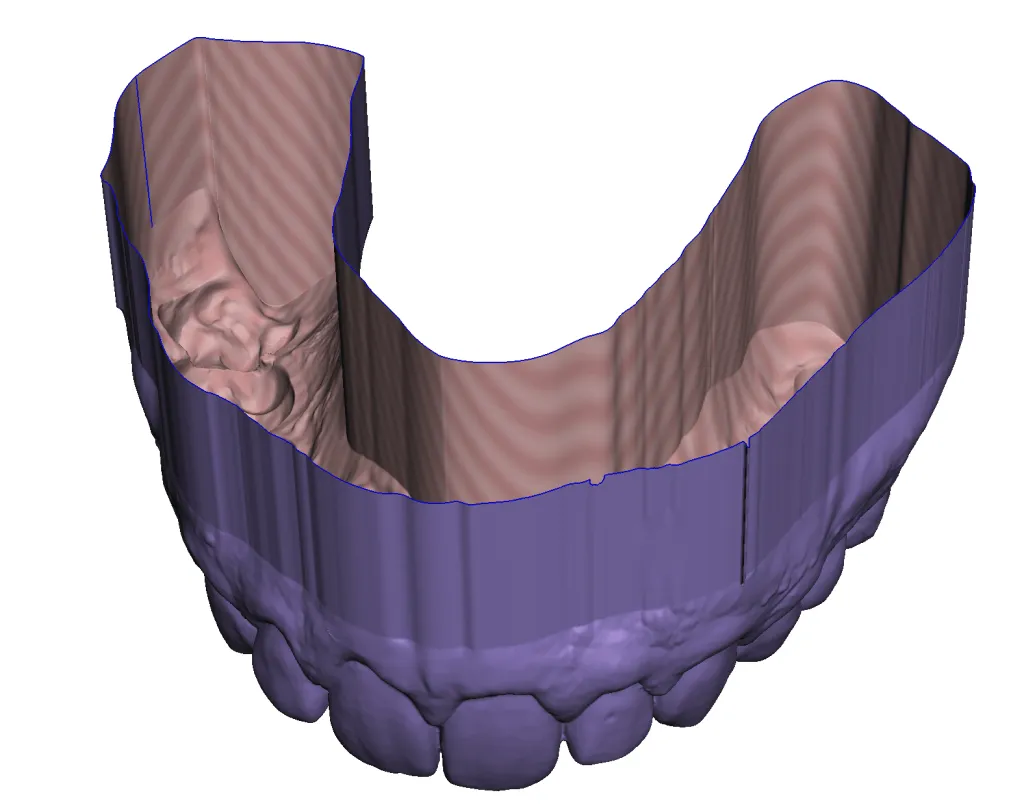
Dental 3D model in Meshmixer - open mesh error
Steps to configure Meshmixer
Step 1 - Meshmixer Dental: configure the ShrinkSmooth tool
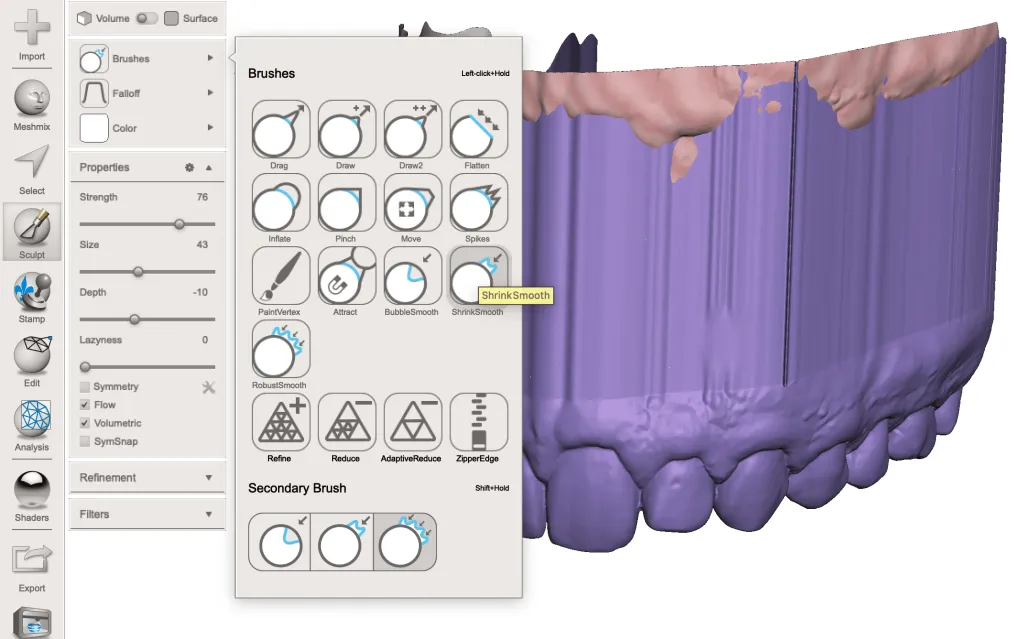
Solution: Before making the cut, smooth the model’s outer surfaces.
Step 2 - Meshmixer Dental: smooth the 3D model
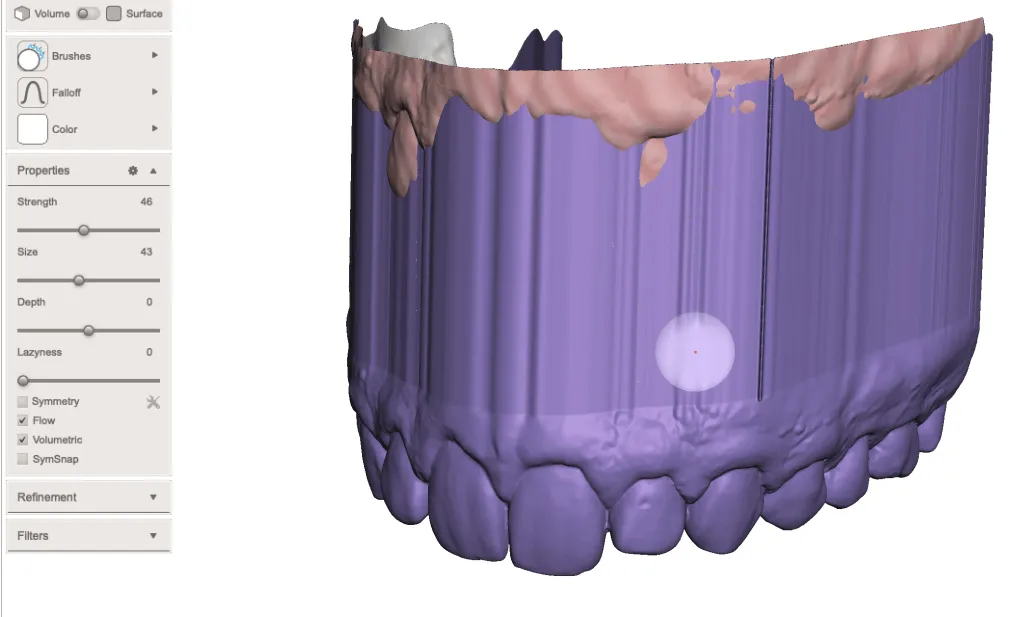
By left-clicking and dragging the brush over the desired area, we apply the smoothing operation.
Then we use the Plane Cut tool again to cut the model at the desired height. To check whether you have done it correctly, confirm that the base is solid. This indicates that the cutting plane is at a height without mesh errors:
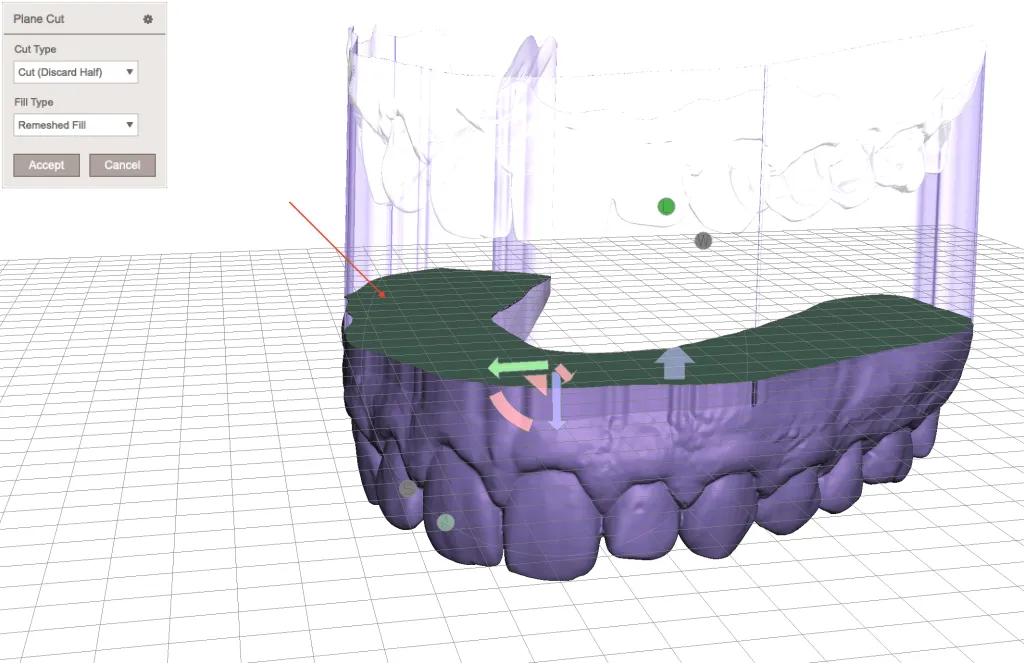
Dental 3D model in Meshmixer - ready for 3D printing
Note: If the error is still visible after making the cut, repeat the previous process.
If you have reached this point, congratulations: you can print your 3D model today. You only need to export it (File > Export) in STL or OBJ format.
Steps for dental 3D printing with Formlabs
Step 1 - Dental 3D printing: configure the 3D model for printing in PreForm

You can print a solid model directly on the platform or with a slight tilt using print supports. To save material and increase print speed, we recommend the first option.
If you want to learn more about Formlabs dental 3D printing, click the image below.
If you are a dentist or work in a dental clinic and need help preparing your files for dental 3D printing, contact us. If you want to learn more techniques, you may also be interested in the following tutorial: Meshmixer Tutorial: 15 Top Tips to Edit STL Files for 3D Printing